Geometric Bath
The upstairs bath in our house was a standard size but a bit dull. It had a nasty sliding glass door surround, that had seen better days so I removed that and opted for a shower curtain.
Since this bath serves the guest bedroom and my son's room, I wanted something that would be suitable for years. Not too frilly or cutesy (definitely not me), or too young. I chose to paint a geometric pattern on the walls and follow up with geometric details.
|
I started off with a plan drawn on paper so I could get my layout since I was doing all four walls of the room (this is easy to do on your computer, you can even fill in the colors so you know exactly where each color will go). |
|
|
|
|
|
I designed the pattern around 5 colors:
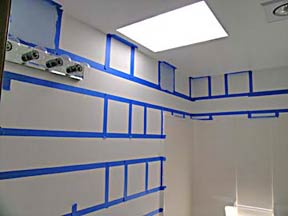
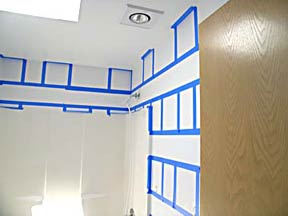
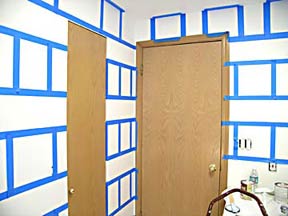
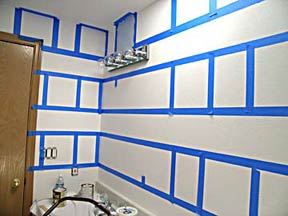
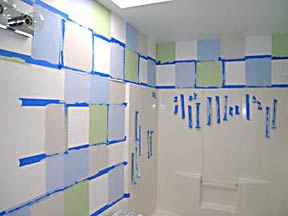
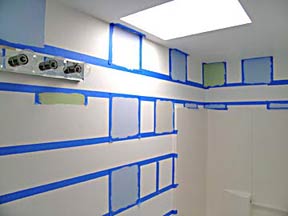
Now the painting begins! |
 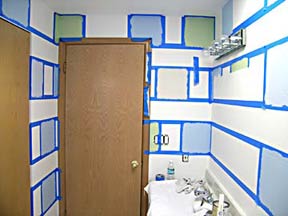 |
|
Following my guide, I painted in the various four colors. |
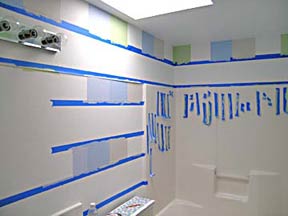 |
|
After the first rows are done, I remove my tape and re-position it for the remaining rows. It's a lot easier positioning the tape now since I have "built in" guideline with the previously painted squares. It really starts moving along as you continue to paint in squares. |
|
|
|
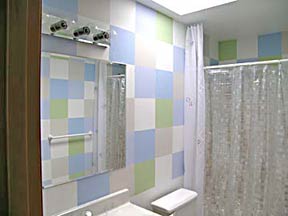
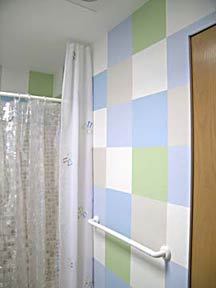
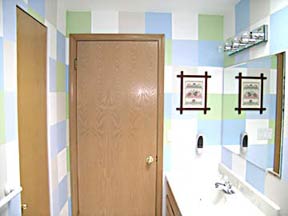
The finished bath! Mirror, towel bar and shower curtain are up. Here's a hint: The white plastic towel bar was discolored from the sun coming in through the skylight in the bathroom. I had planned to just buy a new one. After pricing a similar style at $10. I decided to buy a $3 can of spray paint and 'freshen up' the existing one. Krylon makes this spray paint specifically for plastics. It worked wonderfully. A cheap solution! |
|
|
|
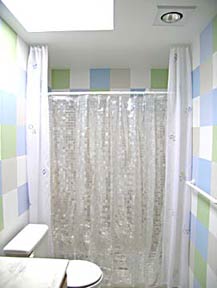
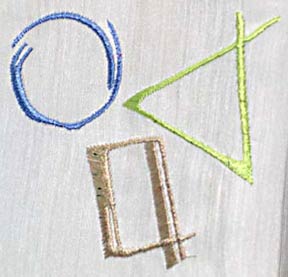
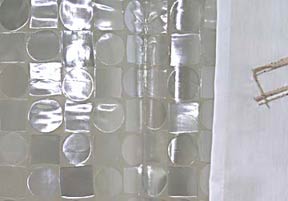
To finish off the sides of the tub, I sewed long panels that hang from ceiling to floor using a drapery sheer. Then I embroidered geometric designs in rayon thread the same colors as on the walls. Hung from white cup hooks, these purely decorative panels give a finishing touch. The painted walls have a fun pop of soft color. Now to find coordinating towels and a new rug! |
|
|
|
Detail of the embroidery on the sheer side panels. I used the geometric designs and grouped them in threes. Then I used Madeira 'Potpourri' thread in the same wall colors, alternating which design got which color with each grouping. |
|
|

