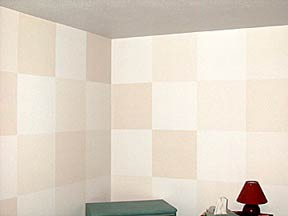
Travertine Walls
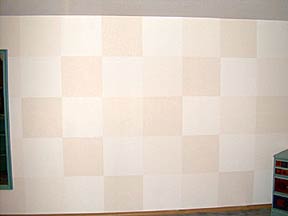
Loosely based on the finish created by using Italian travertine marble, I created my own look with subtle shades of taupe paint. I drew my design layout on paper first to determine the color placement. This makes it a lot easier to keep track of what color needs to go where!
|
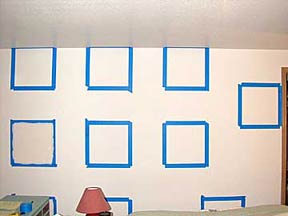
Step 1 I marked off 18" squares along two walls. I divided the 18" into the width and height of the walls. Since I started the squares in the corner (the focus as you enter the room) any remaining amount will be at the opposite end of the wall. Mine ended up right on (yeah!). I used blue painters tape to mark off my first squares to be painted. |
|
|
|
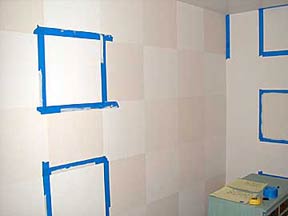
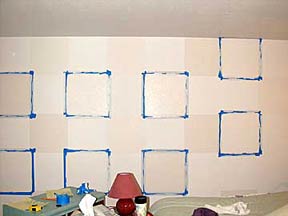
Step 2 My original walls were white, which I used as one of my colors. I bought a quart of pale taupe latex wall paint to use as my darkest shade. This goes fast as I'm actually only painting 2 colors - the third being the wall color. After the first step is dry, I can tape the next section to be done. See why the planned layout on paper is a good idea? |
|
|
|
Step 3 I keep repeating painting squares as earlier ones are dry until all the painting is done. I mark off on my paper layout which squares have been painted so it's easy to see which need to be done next The finished effect is fun and really brightens the room! I left the other two walls the original white color. |
|
|

