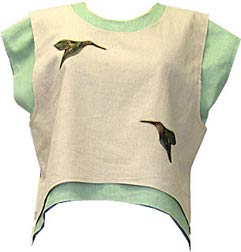
I wanted to use Flair Designs airbrushed hummingbirds on a new sample. Since I was working with light color linen and the hummingbirds were airbrushed on black cotton, I wanted a way to reduce the amount of black surrounding the birds.
Traditional appliqué (applied to the surface) would have left me with a heavy black outline. Even if I used a light color thread to satin stitch with, you still get some of the 'show through' of the background fabric. Reverse Appliqué was the best way to make this work.
|
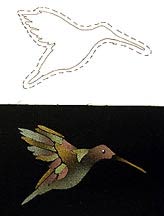
Step 1 First I made a clear plastic template from the design using overhead transparency plastic. I then added a dashed line a 1/4" away from the actual image. The dashed line was my cutting line. |
 |
|
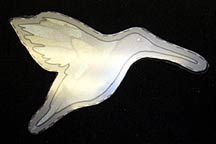
Step 2 Next I placed the template over the design and traced around it with a white chalk pencil. |
 |
|
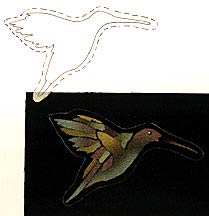
Why did I make a template? Why not just cut around the image a 1/4" away? Consistency. I was doing four reverse appliqués (two on the front, two on the back), and I wanted all of them to have the same edge. Notice how I have birds going different directions? I didn't need to make a new template, just flip it over! |
 |
|
Step 3 After cutting the image on the white line, I pin it to the wrong side of the top. The right side of the image is towards the top. |
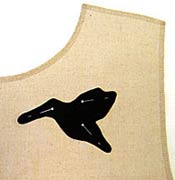 |
|
Step 4 Using a very short stitch length (1.5), I stitched a scant 1/8" away from the cut edge. "Scant" means 'almost' to people who sew. So a scant 1/8" is somewhere between 1/16" and 1/8". Use an open toe foot to see where you're going. |
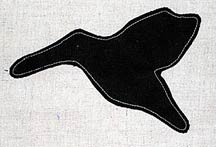 |
|
Step 5 From the right side, carefully trim away inside the stitched line, leaving approximately 1/16" of the top fabric. Don't trim too close, or you'll be in danger of your fabric pulling away. |
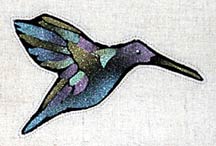 |
|
Step 6 |
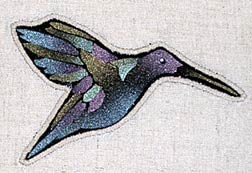 |
